How to Commission D&D Character Art — A Step by Step Guide
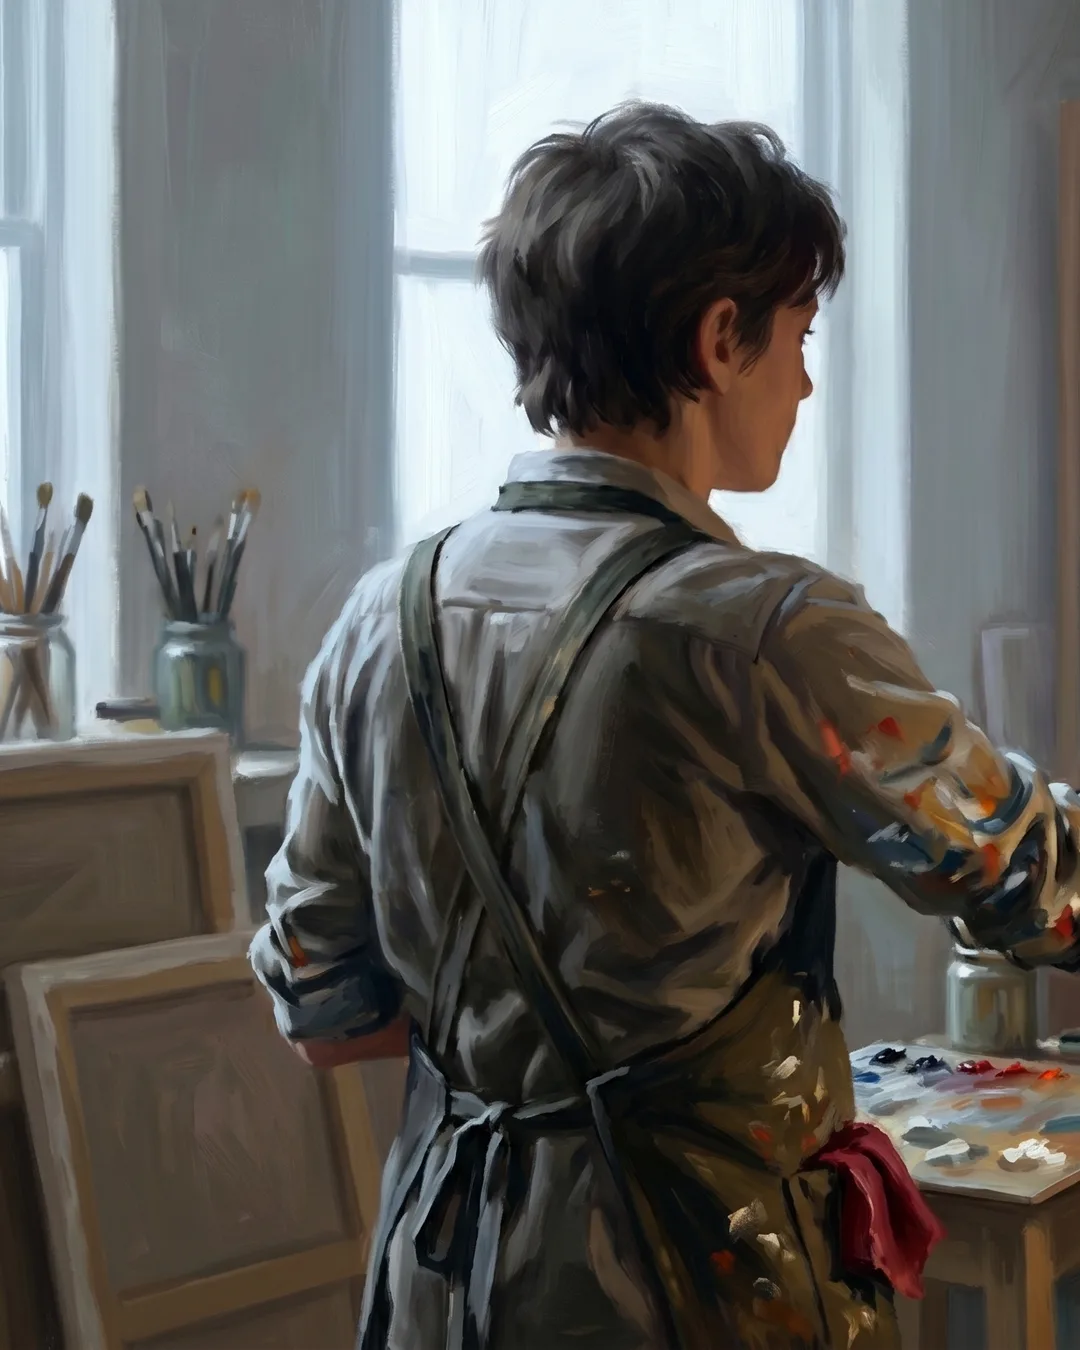
Most people who commission their first piece of character art either over-prepare or under-prepare. I get briefs that are fifty paragraphs of backstory with zero reference images, and I get briefs that say "half-elf rogue, she's cool." Neither gives me what I need to paint your character well. Here's what actually helps, from the perspective of the artist who reads those briefs every week.
The commissions that come out best aren't always the ones with the most detailed lore. They're the ones where the client knew what they wanted before they typed a single word.
Step 1: Know What Type of Art You Want
Before you contact any artist, decide what you're actually ordering. Different formats serve different purposes and the distinction matters more than most people expect.
A bust (shoulders and up) costs less and works perfectly for a VTT token, a Discord avatar, or a quick visual to show your table what your character looks like. It's not a compromise — for a lot of characters, it's exactly the right format.
A half-body (waist up) lets me show the outfit from the torso up, which is useful when costume detail matters but you don't need to see the boots.
A full-body piece is the one you frame, use for a campaign poster, or order when you want the whole character — posture, weapon, stance — in one image. It takes longer, and every extra limb means more decisions I'm making about your character on your behalf.
VTT tokens are their own product. They're cropped circular portraits built to sit on a grid at small sizes. If your goal is a Foundry or Roll20 token, say so upfront — the composition and file delivery are different from a standard portrait.
Reference sheets are for long campaigns or developers who need the character documented from multiple angles with color swatches and callouts. That's a separate project.
If you're not sure which format fits, the services page has examples for all of them.
Step 2: Set Your Budget Before Anything Else
I'll be direct because it saves us both time. Busts typically run $60–80. Half-body work sits around $90–120. Full-body runs $120–180 and up.
What drives price up: intricate armor with a lot of small details, a fully painted background instead of a gradient, more than one character in the piece, and commercial licensing if you're using the art for a published product or stream branding.
What doesn't affect price: your character's backstory, how much you love them, or how complex their personality is. The price reflects what I have to actually render.
One thing worth saying plainly — don't go hunting for the $10 commission. I know those exist. What you're usually buying is either a heavily AI-generated image with some light retouching, or work from an artist being paid below minimum wage per hour. The art might look passable in a thumbnail. It won't hold up at full size and there's rarely a real revision process attached to it. Your character deserves better. Full pricing is here.
Step 3: Gather References Before You Write a Single Word
This is the most useful thing you can do before you contact me. Clients who come in with good references consistently get better paintings.
Three types of references actually matter.
Visual likeness references cover what your character looks like — species, face shape, distinguishing features, the specific armor or outfit. Screenshots from character creators, similar art you've found online, photos of a hairstyle. I'm not copying these images; I'm using them to understand what's in your head.
Color references are the most underrated. If you tell me "dark red armor," I'm guessing. A Pinterest board or a hex code means I'm painting your version of dark red, not mine. Even a film still with the right color mood is more useful than a word description.
Tone and atmosphere references tell me how the painting should feel. Gritty and weathered? Clean and heroic? Show me illustrations or film stills with the right atmosphere, even if the subject is completely different.
Three to five solid references per category is plenty. Thirty-seven conflicting ones is actually harder to work from than three clear ones.
The client who sends me a Pinterest board of eight well-chosen images usually gets a better result than the client who sends sixty.
Step 4: Write the Brief
Once you have references, the written brief becomes much shorter than you think it needs to be.
Every brief needs five things:
- Species, build, and rough age. "Half-orc, stocky and broad, mid-30s."
- Skin tone, hair, and eye color. Be specific. "Warm brown skin, silver locs pulled back, amber eyes."
- Key outfit items. Not every item — the three or four things that define the silhouette. "Tattered traveling cloak, leather chest armor with a clan sigil on the left shoulder, no helmet."
- Mood or emotional state for the piece. "Tired but determined" tells me more than "heroic."
- Pose or moment. "Standing with one hand on the pommel of her sword, looking off to the left" gives me a composition. "She's ready to fight" doesn't.
Then write one sentence about who this person is. Not their class and level. Not their backstory. The essential vibe.
Leave out the full backstory, every stat, every item in the inventory. I don't need it. If a specific story detail affects the image — a scar from a particular battle, a locket they always carry — mention that. Everything else stays in your campaign notes.
Step 5: Vet the Artist Before You Pay a Deposit
Not all commission work is equivalent, and who you hire matters as much as what you're asking for.
Look at portfolio consistency, not just the best pieces. Every artist has a standout image or two. What matters is whether the rest holds up. Wild quality variation is either a sign those best pieces are exceptions — or, increasingly, that some work is AI-generated and some isn't.
Check the revision policy. How many rounds? At what stage do revisions stop being free? An artist who won't show you a sketch before moving to final color is setting you up for a surprise. The sketch stage exists so you can steer the painting before I've committed hours to it.
Ask about turnaround and communication. A two-week turnaround with no updates is a different experience from a four-week process with sketch check-ins. Know what you're paying for.
On AI — consistent hand-painted work has a texture and variation that generated images still don't convincingly replicate. Look closely at whether the style holds up across different subjects, and look at how the hands are handled. You can also just ask the artist directly.
Step 6: How to Give Feedback on Sketches
When I send a sketch, I'm asking one question: does this capture your character? That's the moment to steer the painting. The quality of your feedback here shapes the final piece more than anything else.
Specific feedback is useful. "The jawline feels too soft — can we go squarer?" is something I can act on. "Something feels off" is not. Hold the sketch up against your reference images and identify exactly what's different from what you pictured.
When revisions are listed as unlimited at the sketch stage, that means we keep working the sketch until you're happy with the direction — before I paint anything. It doesn't mean approving a sketch and then asking for a completely different pose after I've finished the color work. Once I'm at final color, structural changes add time.
The process page walks through every stage so you know what to expect and when to give feedback.
Step 7: Delivery and What You Can Do With the File
When the painting is done, you'll receive a high-resolution PNG suitable for print and screen use. Depending on what you ordered, you may also receive a layered file or a token crop.
Personal use covers printing it, using it as an avatar, sharing it on social media, showing it at your table. That's what a standard commission covers.
Commercial use — selling it on merchandise, using it in a published product, stream branding where the art is part of a monetized channel — requires a commercial license. That's worth discussing before you order if you think you'll need it. The FAQ has the full breakdown.
Mistakes Worth Avoiding
Contacting the artist before gathering references is the most common one. You can't accurately describe what you want until you've seen something close to it. Get the references together first.
Picking an artist based on price alone almost always costs more in time and frustration than the higher-priced commission would have. The $10 commission and the $80 commission are not the same product.
Approving a sketch you're not happy with. If something is wrong at the sketch stage, say so — it's easier to fix there than after I've painted over it.
Waiting until the last minute. Quality commissions have queues. If you need something for a campaign session on a specific date, reach out weeks ahead, not days.
If you've read this far, you're already more prepared than most of the people who come through my order form. You know what format you want, you have a budget in mind, you've thought about references, and you know what goes in a brief.
Fill out the order form when you're ready and I'll look at your brief personally. I paint every piece by hand, and I'd like to paint yours.